Adding Offline Capabilities to React Native Apps with TanStack Query
Mobile apps are increasingly becoming an essential part of our lives, and with the growing demand for mobile apps, comes the challenge of building apps that work reliably even when the user is offline. With spotty internet connectivity, mobile apps that solely rely on an internet connection are bound to fail. This is where offline capabilities become crucial, and the integration of TanStack Query with React Native is an excellent solution for this problem.
TanStack Query is a JavaScript library that simplifies the process of querying and manipulating data. It provides an easy-to-use API for fetching data from various sources, including local storage, offline databases, and APIs. This makes it an ideal choice for building offline-first mobile apps. React Native, on the other hand, is a popular framework for building mobile apps using JavaScript and React. By integrating TanStack Query with React Native, developers can build mobile apps that are more resilient and reliable even when the user is offline.
In this article, we will explore how to integrate TanStack Query with React Native to add offline capabilities to your mobile app. We will discuss the steps involved in setting up a local database, defining queries and mutations, and syncing data with the server. By following the steps outlined in this article, developers can create mobile apps that work seamlessly even when the user is offline, improving the overall user experience.
Create the project
We're going to build a ToDo mobile application, using the GraphQL API created in a previous post.
Create the Expo project
To get started, let's first create the expo TypeScript project:
npx create-expo-app -t expo-template-blank-typescript
Install the dependencies
The application will have 2 screens:
- The ToDo List screen
- The Add ToDo screen
Since we're going to navigate between the 2 screens, let's install the React Navigation dependencies:
npm i @react-navigation/native @react-navigation/native-stack
A ToDo can be marked as completed with a checkbox, so we'll also install the Expo Checkbox dependency:
npm i expo-checkbox
Create the screens
App component
The App component simply allows for navigation between the ToDoListScreen and AddToDoScreen screens.
/* App.tsx */

import { NavigationContainer } from "@react-navigation/native";
import { createNativeStackNavigator } from "@react-navigation/native-stack";
import AddToDoScreen from "./screens/AddToDoScreen";
import ToDoListScreen from "./screens/ToDoListScreen";
import { RootStackParamList } from "./types/navigation";

const Stack = createNativeStackNavigator<RootStackParamList>();

export default function App() {
  return (
    <NavigationContainer>
      <Stack.Navigator
        screenOptions={{
          contentStyle: {
            backgroundColor: "#ffffff",
          },
        }}
      >
        <Stack.Screen name="ToDoList" component={ToDoListScreen} />
        <Stack.Screen name="AddToDo" component={AddToDoScreen} />
      </Stack.Navigator>
    </NavigationContainer>
  );
}
ToDo List screen
The ToDoListScreen component is responsible of showing the list of ToDos.
For now, the list of ToDos is harcoded via the data variable. We're going to fix that later.
/* ToDoListScreen.tsx */

import { Button, StyleSheet, Text, View } from "react-native";
import React, { ReactNode, useEffect, useMemo, useState } from "react";
import ToDoList from "../components/ToDoList";
import { StatusBar } from "expo-status-bar";

import type { NativeStackScreenProps } from "@react-navigation/native-stack";
import { RootStackParamList } from "../types/navigation";
import { PagedToDos } from "../types/ToDo";

type ToDoListScreenProps = NativeStackScreenProps<
  RootStackParamList,
  "ToDoList"
>;

const ToDoListScreen = ({ navigation }: ToDoListScreenProps) => {
  const data = useMemo<PagedToDos>(
    () => ({
      items: [
        {
          id: "1",
          name: "ToDo 1",
          description:
            "ToDo 1: Lorem ipsum dolor sit amet, consectetur adipiscing elit. Morbi at varius diam",
          completed: false,
        },
        {
          id: "2",
          name: "ToDo 2",
          description:
            "ToDo 2: Aliquam a mattis sapien. Nullam pretium imperdiet nulla sit amet scelerisque",
          completed: false,
        },
        {
          id: "3",
          name: "ToDo 3",
          description:
            "ToDo 3: Proin viverra cursus diam, quis cursus nunc gravida sed.",
          completed: false,
        },
      ],
    }),
    []
  );
  useEffect(() => {
    navigation.setOptions({
      title: "List",
      headerRight: () => (
        <Button title="Add" onPress={() => navigation.navigate("AddToDo")} />
      ),
    });
  }, [navigation]);

  const handleCompleteToDo = (toDoId: string) => {};

  return (
    <View style={styles.container}>
      <View style={styles.list}>
        <ToDoList toDos={data.items} onCompleteToDo={handleCompleteToDo} />
      </View>
      <StatusBar style="auto" />
    </View>
  );
};

export default ToDoListScreen;

const styles = StyleSheet.create({
  container: {
    flex: 1,
  },
  title: {
    color: "black",
    fontSize: 24,
    fontWeight: "500",
    marginTop: 0,
    marginBottom: 24,
    borderColor: "green",
    borderWidth: 1,
  },
  list: {
    flex: 1,
  },
});
/* ToDoList.tsx */

import { FlatList, View } from "react-native";
import React from "react";
import { ToDo } from "../types/ToDo";
import ToDoItem from "./ToDoItem";

interface ToDoListProps {
  toDos: ToDo[];
  onCompleteToDo: (toDoId: string) => void;
}

const ToDoList = ({ toDos, onCompleteToDo }: ToDoListProps) => {
  return (
    <View>
      <FlatList
        data={toDos}
        renderItem={({ item }) => (
          <ToDoItem toDo={item} onComplete={onCompleteToDo} />
        )}
        keyExtractor={(item) => item.id}
      />
    </View>
  );
};

export default ToDoList;
/* ToDoItem.tsx */

import { StyleSheet, Text, View } from "react-native";
import React from "react";
import Checkbox from "expo-checkbox";

import { ToDo } from "../types/ToDo";

interface ToDoItemProps {
  toDo: ToDo;
  onComplete(toDoId: string): void;
}

const ToDoItem = ({ toDo, onComplete }: ToDoItemProps) => {
  return (
    <View style={styles.container}>
      <Checkbox
        disabled={toDo.completed}
        value={toDo.completed}
        onValueChange={() => onComplete(toDo.id)}
      />
      <View style={styles.content}>
        <Text style={styles.name}>{toDo.name}</Text>
        <Text style={styles.description}>{toDo.description}</Text>
      </View>
    </View>
  );
};

export default ToDoItem;

const styles = StyleSheet.create({
  container: {
    flexDirection: "row",
    padding: 20,
    borderBottomWidth: 1,
    borderBottomColor: "lightgray",
  },
  content: {
    flex: 1,
    flexDirection: "column",
    marginLeft: 10,
  },
  name: {
    flex: 1,
    fontWeight: "700",
    marginBottom: 8,
  },
  description: {
    color: "gray",
  },
});
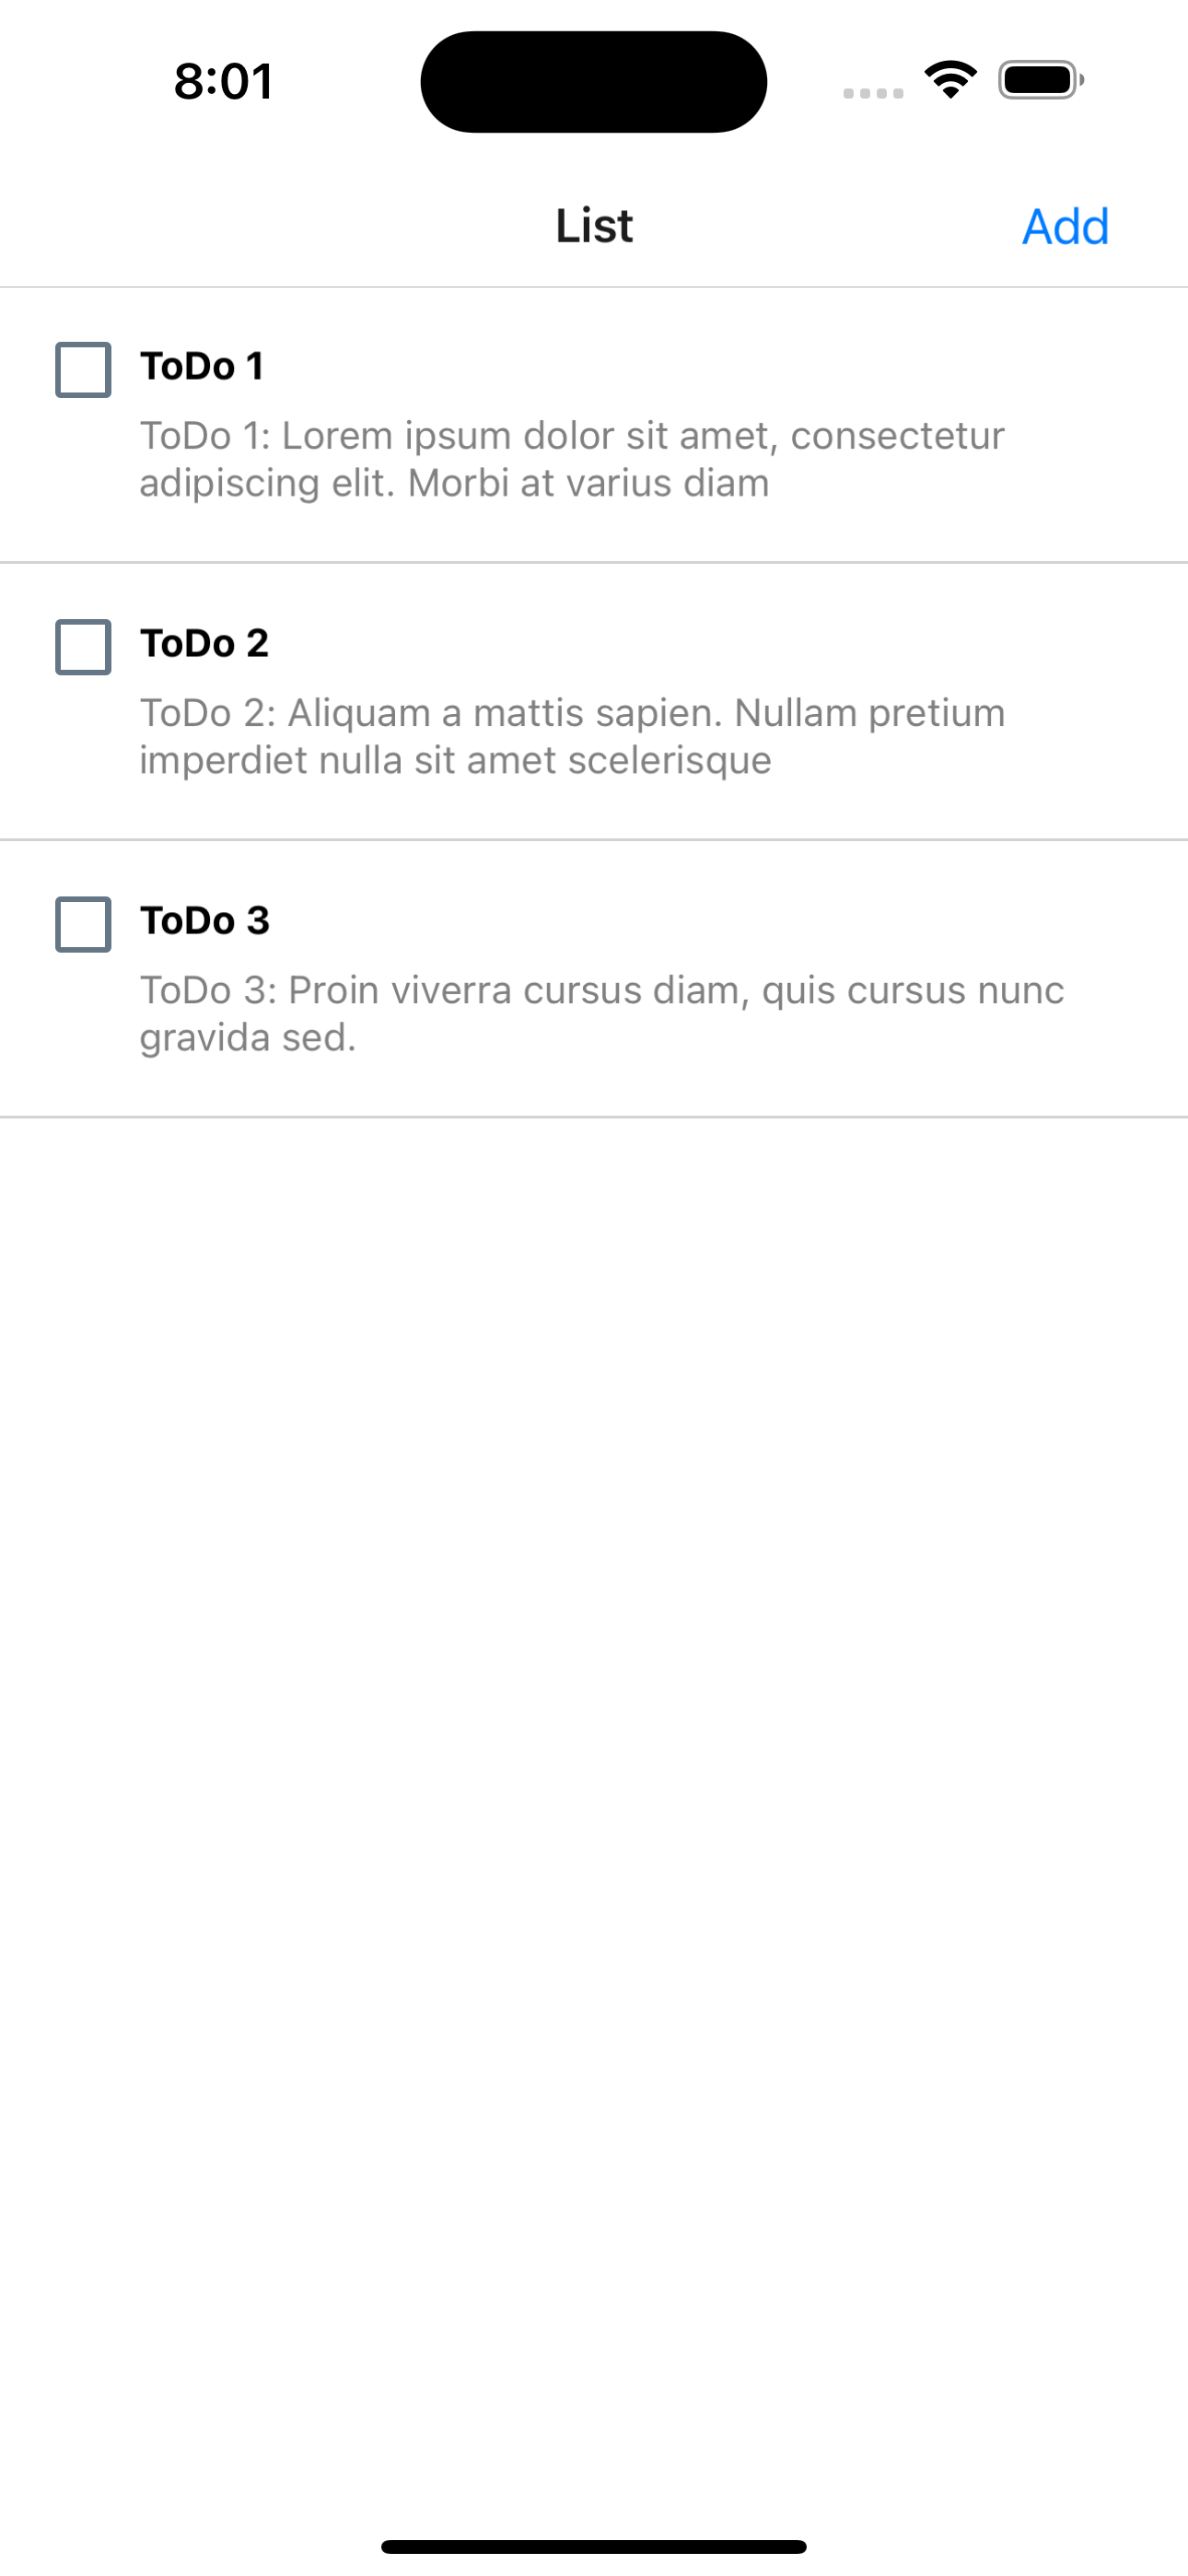
Here is the ToDo List screen:
Add ToDo screen
The AddToDoScreen component is responsible of hosting the form to add a new ToDo.
/* AddToDoScreen.tsx */

import { Button, Text, View } from "react-native";
import React, { useEffect, useState } from "react";

import type { NativeStackScreenProps } from "@react-navigation/native-stack";
import { RootStackParamList } from "../types/navigation";
import AddToDoForm from "../components/AddToDoForm";

type AddToDoScreenProps = NativeStackScreenProps<RootStackParamList, "AddToDo">;

const AddToDoScreen = ({ navigation }: AddToDoScreenProps) => {
  const [name, setName] = useState<string>("");
  const [description, setDescription] = useState<string>("");

  useEffect(() => {
    navigation.setOptions({
      title: "ToDo List",
      headerRight: () => (
        <Button
          title="Done"
          onPress={() => {
            navigation.navigate("ToDoList");
          }}
        />
      ),
    });
  }, [navigation, name, description]);

  return (
    <View>
      <AddToDoForm
        name={name}
        onChangeName={setName}
        description={description}
        onChangeDescription={setDescription}
      />
    </View>
  );
};

export default AddToDoScreen;
/* AddToDoForm.tsx */

import { StyleSheet, Text, TextInput, View } from "react-native";
import React from "react";

interface AddToDoFormProps {
  name: string;
  onChangeName: (name: string) => void;
  description: string;
  onChangeDescription: (name: string) => void;
}

const AddToDoForm = ({
  name,
  onChangeName,
  description,
  onChangeDescription,
}: AddToDoFormProps) => {
  return (
    <View style={styles.container}>
      <View>
        <Text style={styles.label}>Name</Text>
        <TextInput
          style={styles.input}
          value={name}
          onChangeText={onChangeName}
        />
      </View>
      <View>
        <Text style={styles.label}>Description</Text>
        <TextInput
          style={styles.input}
          value={description}
          onChangeText={onChangeDescription}
        />
      </View>
    </View>
  );
};

export default AddToDoForm;

const styles = StyleSheet.create({
  container: {
    padding: 12,
  },
  label: {
    margin: 12,
    marginBottom: 0,
  },
  input: {
    borderColor: "lightgray",
    borderWidth: 1,
    borderRadius: 4,
    padding: 12,
    margin: 12,
  },
});
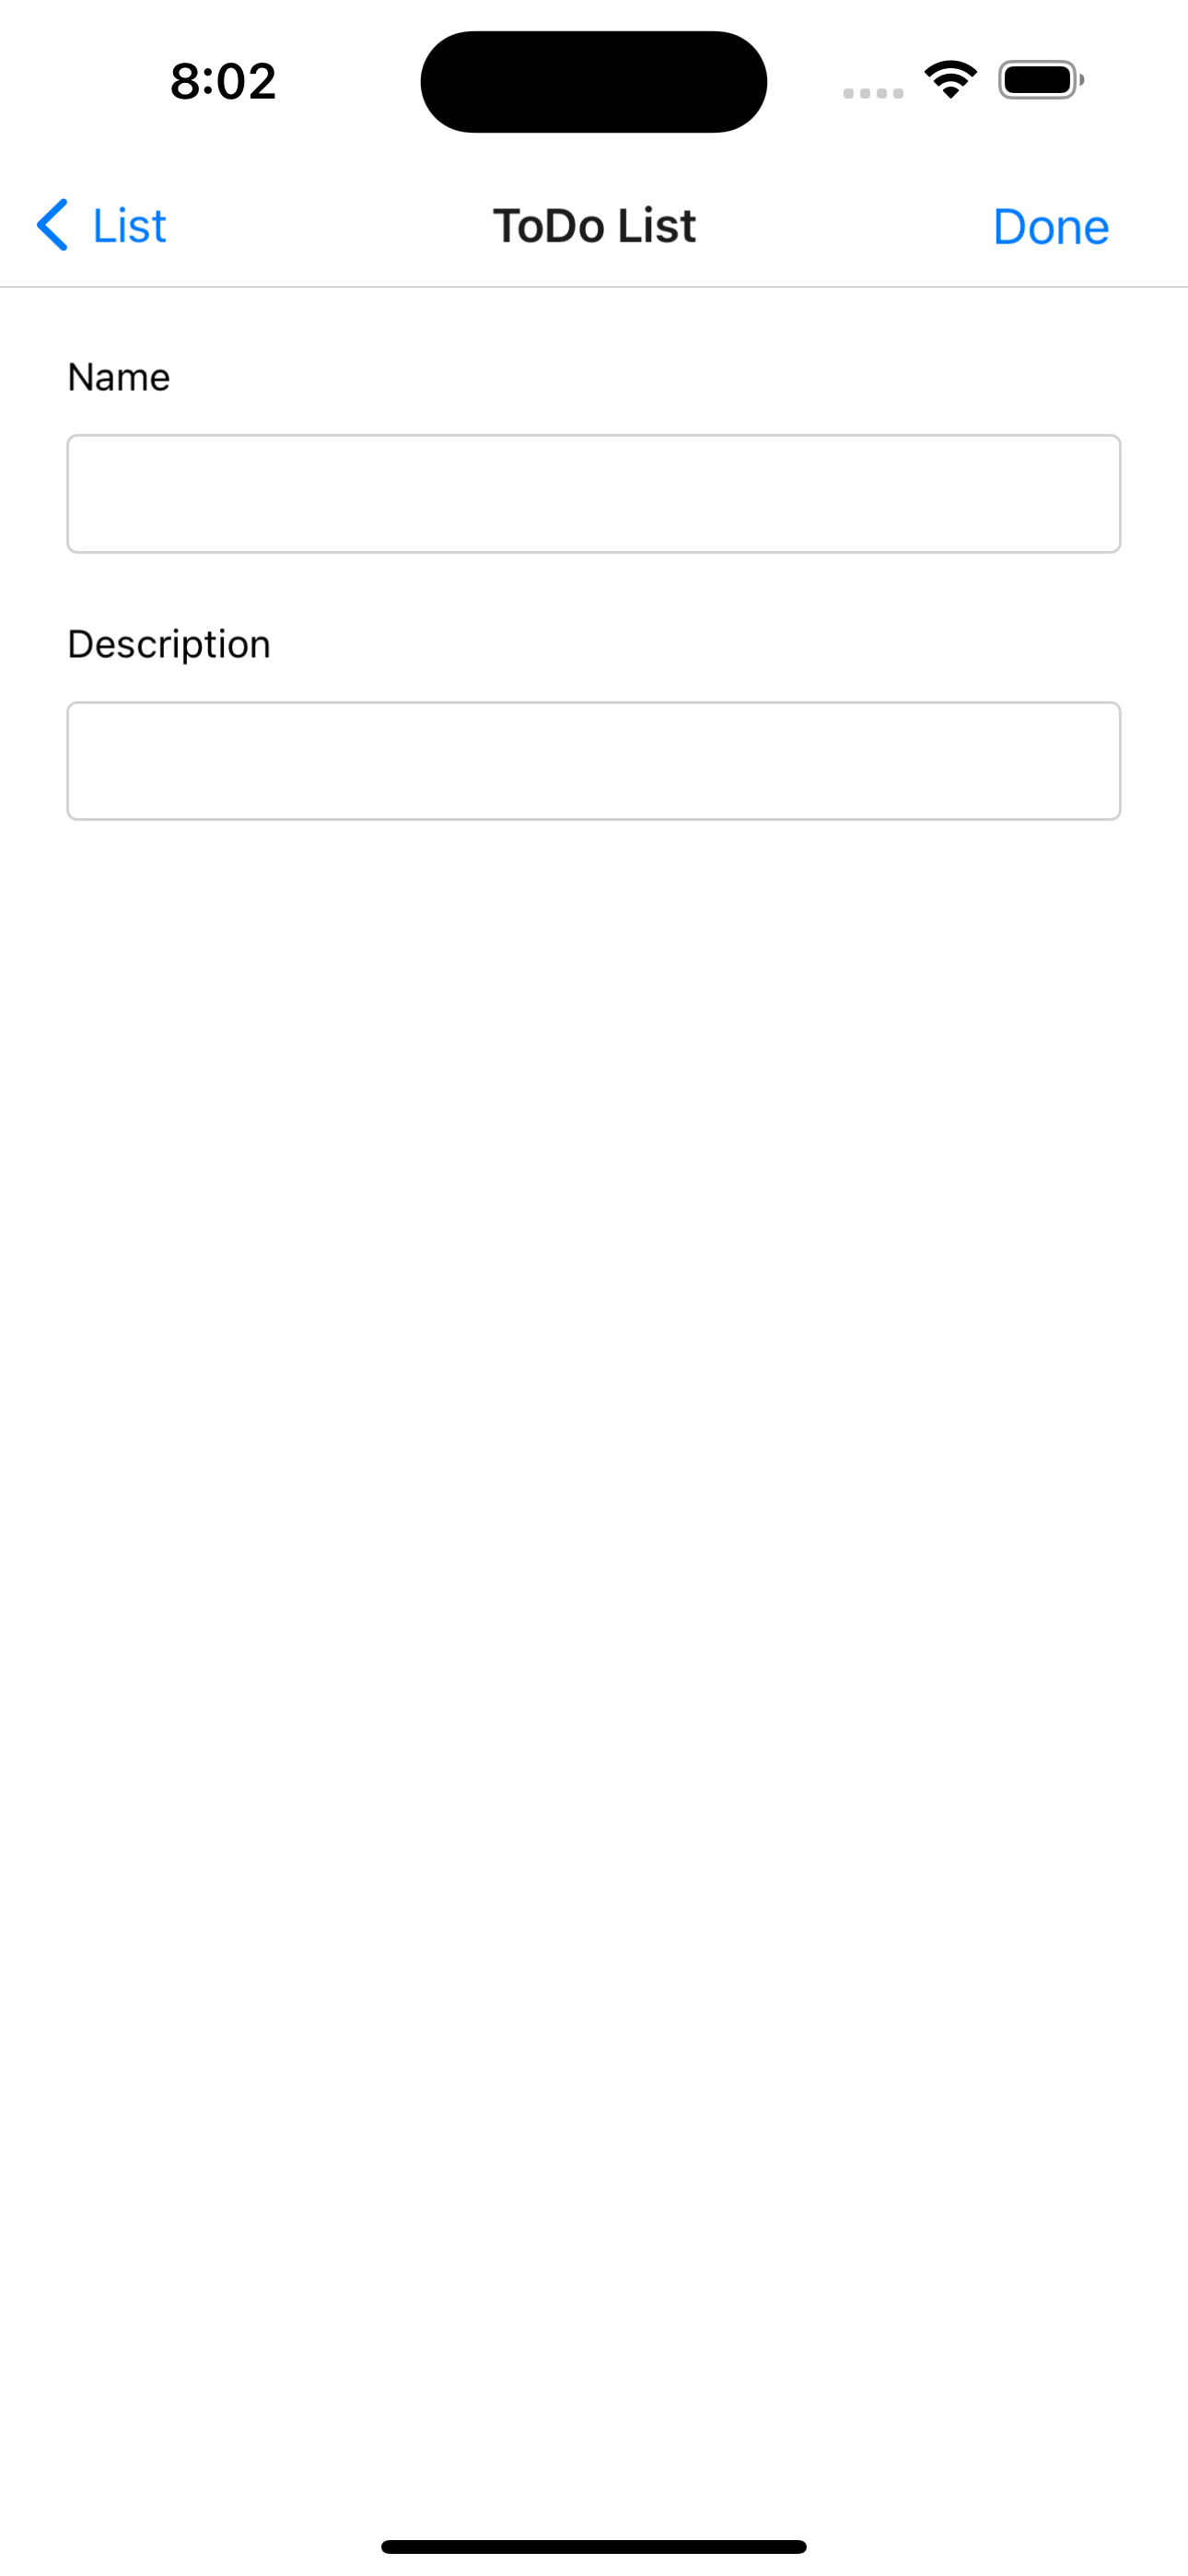
Here is the Add ToDo screen:
Integrating React Native with TanStack Query
Create a GraphQL client with TanStack Query
To integrate React Native with TanStack Query, we first need to install it:
npm i @tanstack/react-query
We're going to integrate TanStack Query with GraphQL. Let's install GraphQL dependencies to make requests against our GraphQL API:
npm i graphql graphql-request
Now we're going to wrap the App component with a QueryClientProvider
/* App.tsx */

import { QueryClient, QueryClientProvider } from "@tanstack/react-query";

const queryClient = new QueryClient();

export default function App() {
  return (
    <QueryClientProvider client={queryClient}>
      <NavigationContainer>...</NavigationContainer>
    </QueryClientProvider>
  );
}
The next step is to make calls to out GraphQL api, via TanStack Query.
We first create the GraphQL client. The API url and key are provided via environment variables.
/* api.ts */
export const graphQLClient = new GraphQLClient(REACT_APP_API_URL!, {
  headers: {
    "x-api-key": REACT_APP_API_KEY,
  },
});
Querying the list of ToDos
To fetch the list of ToDos, we're going to call the todos query endpoint:
type TTodosQuery = {
  todos: PagedToDos;
};

export const useTodosQuery = () => {
  return useQuery({
    queryKey: ["todos"],
    queryFn: async () => {
      const { todos } = await graphQLClient.request<TTodosQuery>(gql`
        query {
          todos {
            items {
              id
              name
              description
              completed
            }
          }
        }
      `);
      return todos;
    },
  });
};
Adding a ToDo
To add a ToDo, we're going to call the addTodo mutation:
/* api.ts */

type TAddTodoMutation = {
  addTodo: ToDo;
};

export const useAddTodo = (queryClient: QueryClient) => {
  return useMutation({
    mutationFn: async ({ name, description }: AddToDoInput) => {
      const { addTodo } = await graphQLClient.request<TAddTodoMutation>(
        gql`
          mutation AddTodo($name: String!, $description: String!) {
            addTodo(newToDo: { name: $name, description: $description }) {
              completed
              description
              id
              name
            }
          }
        `,
        { name, description }
      );
      return addTodo;
    },
    onMutate: async (addedToDo) => {
      await queryClient.cancelQueries({ queryKey: ["todos"] });

      const previousToDos = queryClient.getQueryData<PagedToDos>(["todos"]);

      queryClient.setQueryData<PagedToDos>(["todos"], (old) => {
        return {
          items:
            (old && [
              ...old!.items,
              {
                ...addedToDo,
                completed: false,
                // random ID that will be overwritten when invalidating
                id: uuid.v4().toString(),
              },
            ]) ||
            [],
        };
      });
      return { previousToDos };
    },
    onError: (err, newTodo, context) => {
      queryClient.setQueryData(["todos"], context?.previousToDos);
    },
    onSettled: () => {
      queryClient.invalidateQueries({ queryKey: ["todos"] });
    },
  });
};
There's a lot going on there...
In addition to the mutationFn, we also define the onMutate, onError and onSettled callbacks.
This is to optimistically update the state before doing the mutation. In a nutshell we're not waiting for the backend to return a response before updating the state.
Completing a ToDo
To complete a ToDo, we're going to call the completeTodo mutation:
type TCompleteTodoMutation = {
  completeTodo: ToDo;
};

export const useCompleteTodo = (queryClient: QueryClient) => {
  return useMutation({
    mutationFn: async (toDoId: string) => {
      const { completeTodo } =
        await graphQLClient.request<TCompleteTodoMutation>(
          gql`
            mutation CompleteTodo($toDoId: String!) {
              completeTodo(id: $toDoId) {
                completed
                description
                id
                name
              }
            }
          `,
          { toDoId }
        );
      return completeTodo;
    },
    onMutate: async (toDoId) => {
      await queryClient.cancelQueries({ queryKey: ["todos"] });

      const previousToDos = queryClient.getQueryData<PagedToDos>(["todos"]);

      queryClient.setQueryData<PagedToDos>(["todos"], (old) => {
        return {
          items:
            old?.items.map((item) => {
              if (item.id === toDoId) {
                return {
                  ...item,
                  completed: true,
                };
              } else {
                return item;
              }
            }) || [],
        };
      });

      return { previousToDos };
    },
    onError: (err, newTodo, context) => {
      queryClient.setQueryData(["todos"], context?.previousToDos);
    },
    onSettled: () => {
      queryClient.invalidateQueries({ queryKey: ["todos"] });
    },
  });
};
Just like when adding a ToDo, we're doing an optimistic update when completing a ToDo.
Offline capabilities
Simulating offline state
To test the offline capabilities of our app, we can make sure of the onlineManager.
This component allows to set the application to online/offline:
/* OfflineSimulator.tsx */

import { Button, StyleSheet, Text, View } from "react-native";
import React, { useState } from "react";

import { onlineManager } from "@tanstack/react-query";

const OfflineSimulator = () => {
  const [isOnline, setIsOnline] = useState(onlineManager.isOnline());

  return (
    <View style={styles.container}>
      <View style={styles.buttons}>
        <Button
          title="Online"
          onPress={() => {
            onlineManager.setOnline(true);
            setIsOnline(onlineManager.isOnline());
          }}
        />
        <Button
          title="Offline"
          onPress={() => {
            onlineManager.setOnline(false);
            setIsOnline(onlineManager.isOnline());
          }}
        />
      </View>
      <Text>
        Status is:{" "}
        <Text style={styles.status}>{isOnline ? "ONLINE" : "OFFLINE"}</Text>
      </Text>
    </View>
  );
};

export default OfflineSimulator;

const styles = StyleSheet.create({
  container: {
    flexDirection: "column",
    borderBottomWidth: 1,
    borderBottomColor: "lightgray",
    padding: 20,
    alignItems: "center",
  },
  buttons: {
    flexDirection: "row",
    paddingBottom: 20,
  },
  status: {
    color: "red",
  },
});
Let's make some updates offline!
- Click on the "Offline" button. The application is now offline.
- Add a new ToDo item. Since we're optimistically updating the state, the new item is showing up in the UI, even if the mutation has not been called on the backend.
- Complete the new ToDo item. Just like when adding the ToDo, the UI is updated, but no mutation call was made to the backend.
- Click on the "Online" button. The application is now online.
- TanStack Query detects that the application is online and calls the mutations.
While the ToDo item is now created on the backend, the completeTodo operation failed. This is because the ID of the Todo is created on the backend, so when we want to complete the ToDo, there is no ID to refer to!
We can fix this problem by creating the ID on the frontend, and adding a new mutation that accepts
AddTodoWithId mutation
Here is the GraphQL schema for the new AddTodoWithId mutation:
type Mutation {
  ...
  addTodoWithId(id: ID!, newToDo: ToDoInput!): ToDo!
}
Here is the AppSync resolver in the CDK:
todoTableDataSource.createResolver("MutationAddToDoWithIdResolver", {
    typeName: "Mutation",
    fieldName: "addTodoWithId",
    requestMappingTemplate: appsync.MappingTemplate.dynamoDbPutItem(
      appsync.PrimaryKey.partition("id").is("id"),
      appsync.Values.projecting("newToDo").attribute("completed").is("false")
    ),
    responseMappingTemplate: appsync.MappingTemplate.dynamoDbResultItem(),
});
Let's update the front-end api to call this mutation:
type TAddTodoWithIdMutation = {
  addTodoWithId: ToDo;
};

export const useAddTodoWithId = (queryClient: QueryClient) => {
  return useMutation({
    mutationFn: async ({ id, name, description }: AddTodoWithIdInput) => {
      const { addTodoWithId } =
        await graphQLClient.request<TAddTodoWithIdMutation>(
          gql`
            mutation AddToDo($id: ID!, $name: String!, $description: String!) {
              addTodoWithId(
                id: $id
                newToDo: { name: $name, description: $description }
              ) {
                completed
                description
                id
                name
              }
            }
          `,
          { id, name, description }
        );
      return addTodoWithId;
    },
    onMutate: async (addedToDo) => {
      await queryClient.cancelQueries({ queryKey: ["todos"] });

      const previousToDos = queryClient.getQueryData<PagedToDos>(["todos"]);

      queryClient.setQueryData<PagedToDos>(["todos"], (old) => {
        return {
          items:
            (old && [
              ...old!.items,
              {
                ...addedToDo,
                completed: false,
              },
            ]) ||
            [],
        };
      });

      return { previousToDos };
    },
    onError: (err, newTodo, context) => {
      queryClient.setQueryData(["todos"], context?.previousToDos);
    },
    onSettled: () => {
      queryClient.invalidateQueries({ queryKey: ["todos"] });
    },
  });
};
We can update AddToDoScreen to call the new api:
/* AddToDoScreen.tsx */

import { Button, View } from "react-native";
import React, { useEffect, useState } from "react";
import uuid from "react-native-uuid";

import type { NativeStackScreenProps } from "@react-navigation/native-stack";
import { RootStackParamList } from "../types/navigation";
import { useQueryClient } from "@tanstack/react-query";
import AddToDoForm from "../components/AddToDoForm";
import { useAddTodoWithId } from "../api";

type AddToDoScreenProps = NativeStackScreenProps<RootStackParamList, "AddToDo">;

const AddToDoScreen = ({ navigation }: AddToDoScreenProps) => {
  const [name, setName] = useState<string>("");
  const [description, setDescription] = useState<string>("");

  const queryClient = useQueryClient();
  const { mutate } = useAddTodoWithId(queryClient);

  useEffect(() => {
    navigation.setOptions({
      title: "ToDo List",
      headerRight: () => (
        <Button
          title="Done"
          onPress={() => {
            mutate({ id: uuid.v4().toString(), name, description });
            navigation.navigate("ToDoList");
          }}
        />
      ),
    });
  }, [navigation, name, description]);

  return (
    <View>
      <AddToDoForm
        name={name}
        onChangeName={setName}
        description={description}
        onChangeDescription={setDescription}
      />
    </View>
  );
};

export default AddToDoScreen;
Notice that we generate a new ID on line 29 with the react-native-uuid library.
With this change, the application works properly in offline mode!
Persisting the mutations accross sessions
If we close the application after making the changes offline, when we reopen the application, the mutations will be lost, since they are saved in memory. There would be no chance for TanStack Query to synchronize the data when the application is back online.
To fix this problem, we're going to save the queryClient for later use.
Let's install a few more TanStack Query dependencies required for this to work:
npm i @tanstack/query-async-storage-persister @tanstack/react-query-persist-client
We're going to store the data on the AsyncStorage of the device, so we need to add this dependency as well:
npx expo install @react-native-async-storage/async-storage
Let's modify App.tsx like so:
import AsyncStorage from "@react-native-async-storage/async-storage";
import { NavigationContainer } from "@react-navigation/native";
import { createNativeStackNavigator } from "@react-navigation/native-stack";
import { createAsyncStoragePersister } from "@tanstack/query-async-storage-persister";
import { QueryClient } from "@tanstack/react-query";
import { PersistQueryClientProvider } from "@tanstack/react-query-persist-client";
import { addTodoWithIdMutationFn, completeTodoMutationFn } from "./api";
import AddToDoScreen from "./screens/AddToDoScreen";
import ToDoListScreen from "./screens/ToDoListScreen";
import { RootStackParamList } from "./types/navigation";

const queryClient = new QueryClient({
  defaultOptions: {
    queries: {
      cacheTime: 1000 * 60 * 60 * 24, // 24 hours
      staleTime: 2000,
      retry: 0,
    },
  },
});

queryClient.setMutationDefaults(["addTodoWithId"], {
  mutationFn: ({ id, name, description }) => {
    return addTodoWithIdMutationFn({ id, name, description });
  },
});

queryClient.setMutationDefaults(["completeTodo"], {
  mutationFn: (id) => {
    return completeTodoMutationFn(id);
  },
});

const asyncStoragePersister = createAsyncStoragePersister({
  storage: AsyncStorage,
  throttleTime: 1000,
});

const Stack = createNativeStackNavigator<RootStackParamList>();

export default function App() {
  return (
    <PersistQueryClientProvider
      client={queryClient}
      persistOptions={{ persister: asyncStoragePersister }}
      onSuccess={() => {
        console.log("PersistQueryClientProvider.onSuccess");
        queryClient
          .resumePausedMutations()
          .then(() => queryClient.invalidateQueries());
      }}
    >
      <NavigationContainer>
        <Stack.Navigator
          screenOptions={{
            contentStyle: {
              backgroundColor: "#ffffff",
            },
          }}
        >
          <Stack.Screen name="ToDoList" component={ToDoListScreen} />
          <Stack.Screen name="AddToDo" component={AddToDoScreen} />
        </Stack.Navigator>
      </NavigationContainer>
    </PersistQueryClientProvider>
  );
}
With this change, the following steps will work properly:
- Go offline
- Add new ToDos
- Complete ToDos
- The UI is updated, but no mutation has been called on the backend, since we're offline
- Reload the application (it automatically goes online)
- Now that we're online, the mutations are properly sent to the backend
Conclusion
In this article, we have covered the essential steps involved in integrating TanStack Query with React Native. We have discussed setting up a local database, defining queries and mutations, and syncing data with the server. By following these steps, developers can create mobile apps that provide a consistent user experience, regardless of internet connectivity.
Source code is available on github